Even if you know next to nothing about VPNs, using one on your iPhone and iPad is utterly simple.
Although you may have spotted the VPN menu in the Settings app, there’s no need to venture in and configure settings: modern VPN apps do it all for you.
Obviously, we don’t need to tell you how to install an app on your iPhone or iPad, but there are a few details we’ll share that will make your first experience of a VPN completely fuss-free.
What is a VPN and what does it do on an iPhone or iPad?
Before we begin, here’s a brief overview of why you’d want to use a VPN on your iPad or iPhone in the first place.
Unblocking
For most people, a VPN is a simple way to get around regional blocks that are stopping them watching the videos they want to see, or using the websites they want to access. Some YouTube videos, for example, can only be watched in certain countries and, as everyone well knows, the shows and movies available on Netflix changes depending upon which country you’re in.
With a VPN, you can watch the US Netflix library from the UK and watch BBC iPlayer from outside the UK.
Amazing as it might seem, even in the West some websites are blocked because of data regulations. For example, certain U.S.-based retailers block access to European visitors because of GDPR rules, while services like BBC iPlayer are blocked to viewers in the U.S. A VPN lets you get around this and browse the sites as if you were in the country where that service exists.
Privacy
A VPN encrypts the connection between your iPhone or iPad and the internet. This gives you privacy as it stops your internet provider (and anyone else) from seeing which websites you visit as well as helping to make you anonymous to websites so they can’t track you (unless you sign in to them, of course).
In this respect there are some similarities with Apple’s iCloud Private Relay, which arrived with iOS 15 (and macOS Monterey) at the end of 2021. iCloud Private Relay is a feature for all paid iCloud subscribers (iCloud+). iCloud Private Relay is similar to a VPN in the way that it encrypts your web-browsing and hides your location, IP and what you are browsing. This encryption only happens when you are using Safari, so if you use another browser you won’t have the same protection. And of course it won’t allow you to by pass any restrictions based on your location either.
We explain how iCloud Private Relay is different to a VPN here: iCloud+ Private Relay FAQ: Everything you need to know.
Security
Public Wi-Fi usually lets you connect without entering a password, and that can be a bit risky as the connection isn’t encrypted. But a VPN provides encryption so you can safely use the internet at airports, cafes, hotels and other places. All reputable websites and web services provide their own encryption (and certainly banks and banking apps do) but using a VPN removes any risk that sensitive information could be exposed.
If you want to access you home or work network remotely, you could set up your own VPN. Read: How to set up macOS Server’s VPN service. We also have this article on How to access your Mac remotely.
We have even more information about whether you should use a VPN on your Mac, iPhone or iPad in a separate article.
How to use a VPN on your iPhone or iPad
Now you know what a VPN is for (if you didn’t already) here’s what you need to do to install one on your iPhone or iPad, and how to use it to disguise your location, hide your browsing habits and protect your privacy and security.
Find a good VPN
First you will need to find a VPN that suites you. We have a few VPNs we recommend here: Best VPNs for iPhone we also have a run through of the Best VPNs for iPad and the Best VPNs for Mac. Recommendations of services that work across your Apple devices include Surfshark, NordVPN, and ExpressVPN.
We frequently see VPN services reduce prices, so there’s no need to pay full price, there is always a deal: here are the best VPN deals right now.
2.
Set up your VPN
When you subscribe to a VPN service, you can use it on several devices at once, and not just iPhone or iPad. Apps are typically available for Windows, macOS, Android and even TVs and streaming devices.
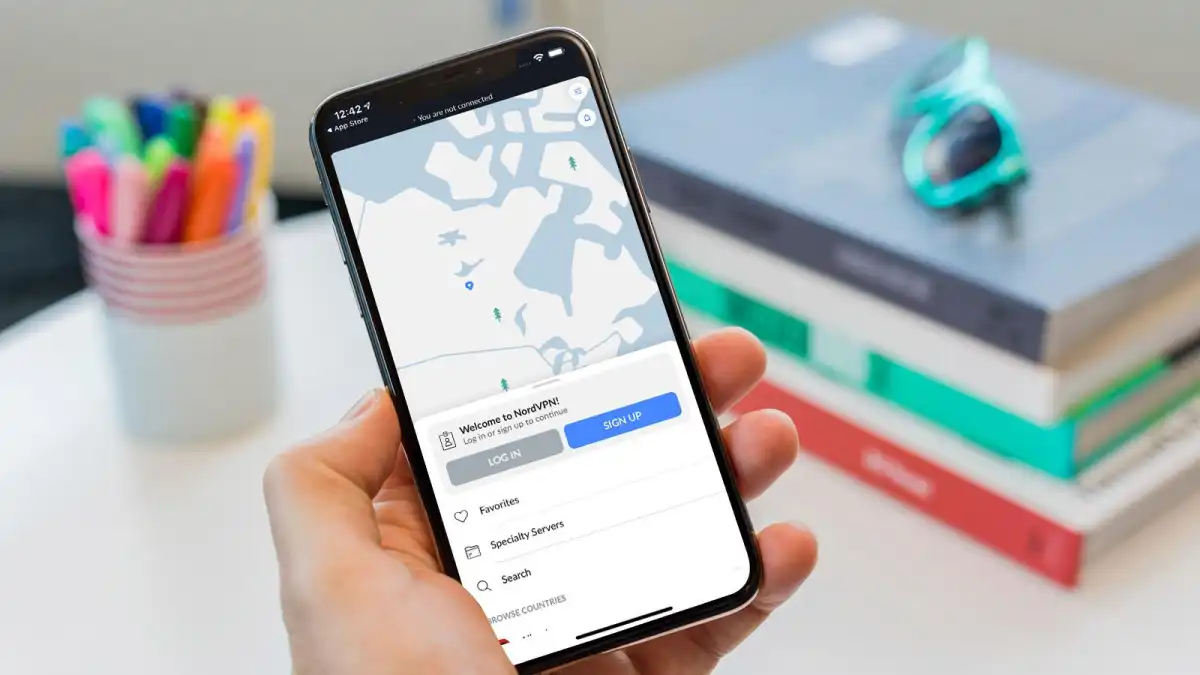
Here, we’re using NordVPN as an example, but, although there may be slight differences to where the options and settings are, the steps here apply to most VPN apps, not just Nord.
The first step is to sign up and create an account on the VPN provider’s website. At the time of writing, NordVPN was offering 64% off a two-year subscription.
You’ll need to create an account so be sure to make a note of your log in and password as you’ll need it later.
Download the app
Visit the App Store to download the app you require. For example, the NordVPN app.
If you need to download the app from the developer’s website you may find you have to approve the installation, for help with that read: How to run apps that are not from the App Store.