How to change Apple Watch band
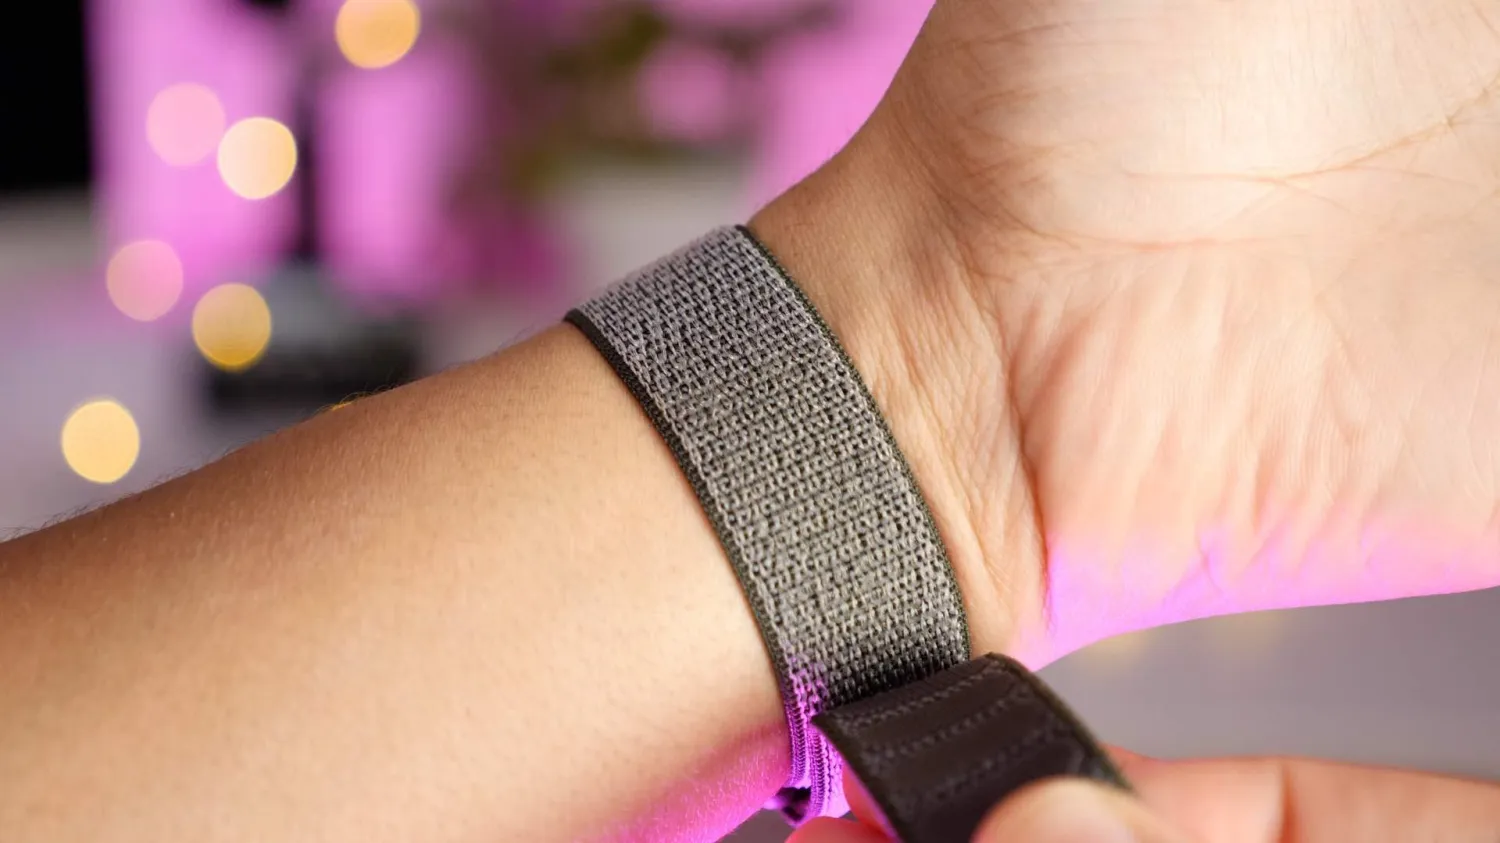
- Take off your Apple Watch off or undo the band if it’s already off – for link-style bracelets, find a middle point to disconnect the links
- With the backside of your Apple Watch facing up, press and hold one the band release buttons down – the cylindrical buttons above and below the heart rate sensor
- Tip: use your thumb fingernail of the same hand that is holding your Watch
- Slide out your band with your free hand
- Repeat for the second portion of your band
- For the new band, slide one of the sections in until you hear a click – the text on the back of the band should be facing you
- Slide the second half of the band in until you hear a click
If you don’t hear a click when you slide your Apple Watch band in, slide it back and forth past the center point a few times until you do.
The default setup for Apple Watch is for the Digital Crown to be on the right-hand side. Depending on your preferences or what wrist you wear your Watch, it may be on the left. You can customize that by heading to Apple Watch Settings > General > Orientation.
Most Apple Watch bands are designed to be used with the shorter side up top and the longer portion below (although there is no right or wrong here). Keep in mind which side your Digital Crown sits on to help you remember where to put the shorter and longer band portions.